Alright, thought I'd do up a whole thread around the Gen4 rear sway bar.
Though not factoring majorly in my mod list in my .sig, the stiffer rear sway bar actually makes a ton of handling difference. I was pretty excited when I got my RacingLine Rear Sway bar...because it actually looks like a performance part, unlike the hollow tube factory OEM tinkertoy piece that comes with the car. It is substantially thicker than OEM and consequently comes with larger diameter bushings...see pics below, the RL RSB is about the same diameter as a QUARTER (yes the Canadian quarter peso and the US quarter are almost exactly the same diameter).
I bought some new MOOG problem solver endlinks as they too seem to have meatier construction than many of the cheaper or econo links did. Grease nipples were just icing on the cake!
Fast forward two years...when my car suddenly makes these funny clunking noises from behind the rear passenger seat. I assume it was the heat shield above the muffler as I knew it had already corroded through the front aluminum rivet..I mean WHO uses Aluminum rivets into a Steel frame member...has Nissan never heard of galvanic reactions?! (turns out both sides were loose at the front rivet, but neither side was actually making the banging noise) Instead a foot long chunk of inch thick solid steel bar was dangling and bouncing around under my car!!
![Image]()
![Image]()
Annoyingly it seems I had somehow broken my 2 year old RacingLine sway bar....and based on other threads...am unlikely to get any kind of warranty or replacement satisfaction since it seems they've boarded up shop and run for the hills....but that's another thread
![Image]()
ow
So, now I have an urgent need to replace the rear sway bar...the one I'd thrown out just this spring thinking I'd never need the sorry POS OEM unit. Well turns out I need a new one.
![Image]()
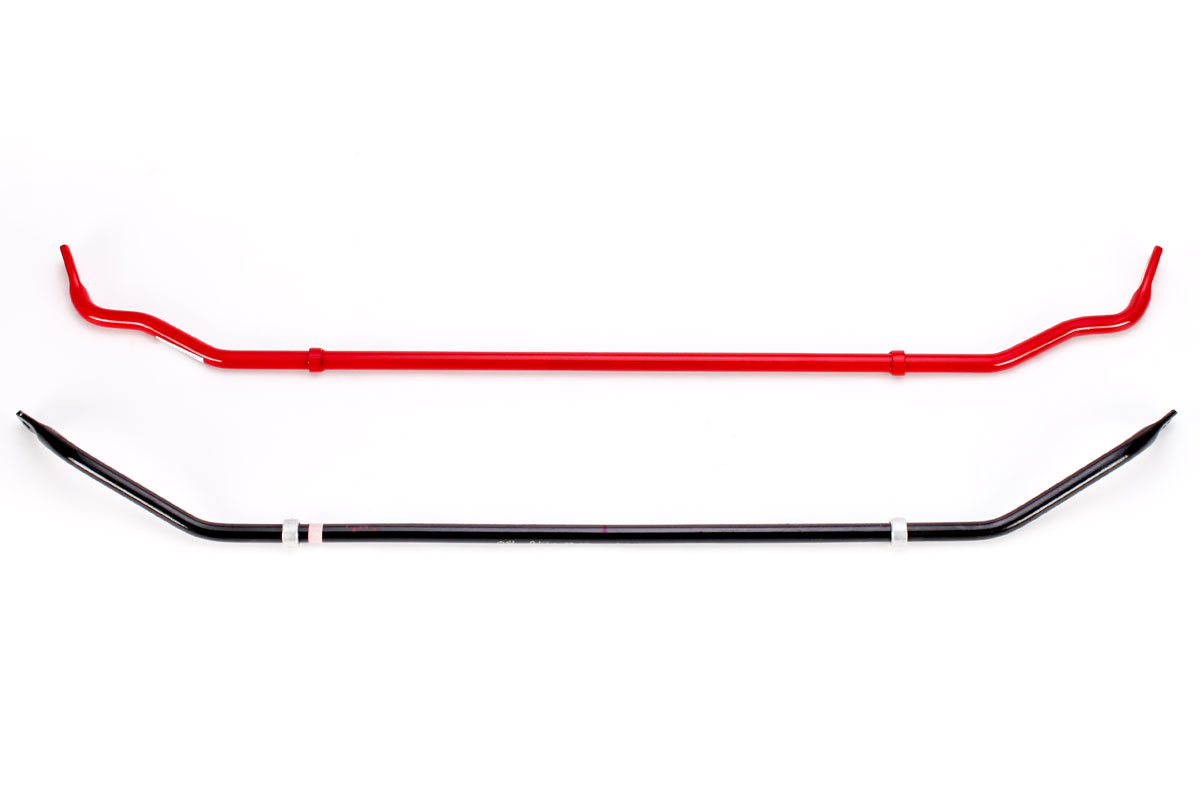
So I ordered the $250US Stillen bar, which graciously comes with new endlinks, which I definitely needed, but no bushings (because it's the same diameter as the stock bar)...yeah, the ones I threw out back in the spring...so now I need to order new bushings, sigh. Dealer wants $30/CDN ea...bwahahahaha not happening. RockAuto wants $6 for a pair of MOOG bushings...that's a winner folks! Check out how much smaller the OEM/Stillen bar is compared to that quarter!
![Image]()
While on RA's site, I also ordered some Mevotech Supreme endlinks which look substantial and have grease nipples, just in case I don't like the look of the ones that come with the Stillen bar....I'll probably just use them anyways.
More pics of this and re-assembly once the bar gets here sometime next week.
Though not factoring majorly in my mod list in my .sig, the stiffer rear sway bar actually makes a ton of handling difference. I was pretty excited when I got my RacingLine Rear Sway bar...because it actually looks like a performance part, unlike the hollow tube factory OEM tinkertoy piece that comes with the car. It is substantially thicker than OEM and consequently comes with larger diameter bushings...see pics below, the RL RSB is about the same diameter as a QUARTER (yes the Canadian quarter peso and the US quarter are almost exactly the same diameter).
I bought some new MOOG problem solver endlinks as they too seem to have meatier construction than many of the cheaper or econo links did. Grease nipples were just icing on the cake!
Fast forward two years...when my car suddenly makes these funny clunking noises from behind the rear passenger seat. I assume it was the heat shield above the muffler as I knew it had already corroded through the front aluminum rivet..I mean WHO uses Aluminum rivets into a Steel frame member...has Nissan never heard of galvanic reactions?! (turns out both sides were loose at the front rivet, but neither side was actually making the banging noise) Instead a foot long chunk of inch thick solid steel bar was dangling and bouncing around under my car!!

Annoyingly it seems I had somehow broken my 2 year old RacingLine sway bar....and based on other threads...am unlikely to get any kind of warranty or replacement satisfaction since it seems they've boarded up shop and run for the hills....but that's another thread

So, now I have an urgent need to replace the rear sway bar...the one I'd thrown out just this spring thinking I'd never need the sorry POS OEM unit. Well turns out I need a new one.

So I ordered the $250US Stillen bar, which graciously comes with new endlinks, which I definitely needed, but no bushings (because it's the same diameter as the stock bar)...yeah, the ones I threw out back in the spring...so now I need to order new bushings, sigh. Dealer wants $30/CDN ea...bwahahahaha not happening. RockAuto wants $6 for a pair of MOOG bushings...that's a winner folks! Check out how much smaller the OEM/Stillen bar is compared to that quarter!
While on RA's site, I also ordered some Mevotech Supreme endlinks which look substantial and have grease nipples, just in case I don't like the look of the ones that come with the Stillen bar....I'll probably just use them anyways.
More pics of this and re-assembly once the bar gets here sometime next week.
")